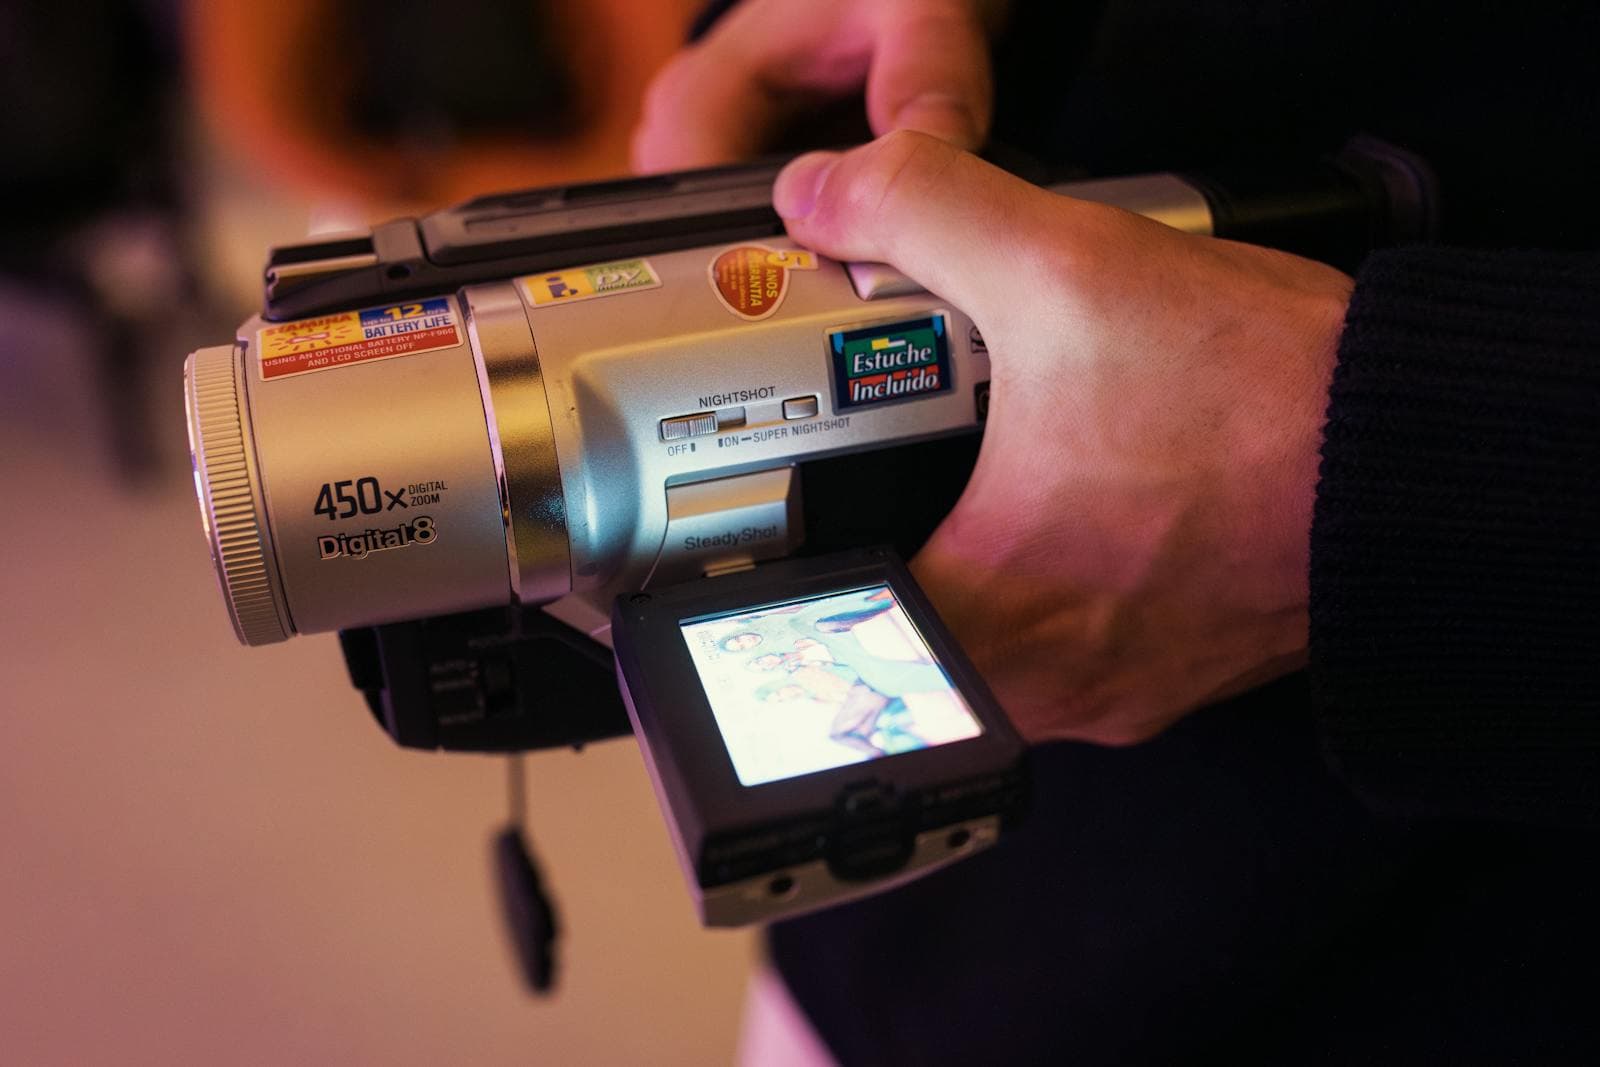
Of all the formats we deal with, Mini-DV is the one where the answer to "how do I rescue this?" isn't "upload a file." Mini-DV is digital — but the digital lives on physical tape, which means the first step is getting the data off the tape and onto your computer. After that, the rest is easy.
This guide walks through the whole thing: hardware you need, software that still works in 2026, and what to do with the file once you have it.
What Mini-DV is, briefly
Mini-DV (sometimes written MiniDV) is a digital tape format used by consumer camcorders from roughly 1995 through 2010. The big names: Sony Handycam DCR-series, Canon ZR-series, JVC GR-D, Panasonic PV-DV. The tapes are small cassettes — about the size of two stacked credit cards — and store about an hour of standard-definition video each (720×480, 25 Mbps, DV codec).
When the camcorder records, it writes the video as DV-format digital data to the tape. The "digital" part is what makes Mini-DV easier to deal with than older analog formats like Hi8 or VHS — the picture quality you get out is the same as what was recorded, no matter how many times you copy it. But the tape format means you can't just plug an SD card into your computer and have files. You have to play the tape back, in real time, while a computer captures the digital stream.
What you need
There are three things, all required:
1. A working Mini-DV camcorder (or deck)
The tape needs something to play it on. Ideally, the original camcorder it was recorded on — that's the most reliable way to get good playback. If the camcorder is dead, you have a few options:
- Borrow one. Most thrift stores still have shelves of Mini-DV camcorders for $20 or so. Quality is hit-or-miss, but they often work fine.
- eBay. A Sony DCR-TRV-series Handycam in working condition runs $50–$120. Search for "Mini-DV camcorder FireWire."
- Mini-DV decks. Sony and JVC made standalone playback decks (DSR-11, BR-DV600U, etc.) that are nicer to work with than camcorders if you have a lot of tapes. Pricier — $200+ — but worth it for bulk capture.
Whatever you use, test it before you start. Insert a tape, hit play, confirm you see picture and hear audio on the camcorder's own viewfinder/speaker. If playback is glitchy on the camcorder, capture won't fix it.
2. A FireWire (IEEE 1394) cable
Mini-DV camcorders almost universally output captured video over FireWire, also called IEEE 1394, i.LINK (Sony's branding), or DV (the marketing name on some camcorder ports). On the camcorder side, the port is usually a small 4-pin rectangular socket.
This is where it gets annoying: modern computers don't have FireWire. The original FireWire 400 / 800 ports vanished from MacBooks in 2012 and were never on most Windows laptops to begin with. So you need either:
- A FireWire-equipped older Mac, like a 2010-era MacBook Pro or iMac that's still running. If you have one in a closet, that's the simplest path.
- A FireWire → Thunderbolt adapter chain. Apple's Thunderbolt-to-FireWire-800 adapter still works on modern Macs (you may also need a Thunderbolt 3 → Thunderbolt 2 adapter on top of it, depending on year). Total cost: $30–$60 for the adapters.
- A FireWire → USB capture box. Several still exist (Datavideo, Roland, etc.) but they're hit-or-miss and cost $100+. Adapters are more reliable.
3. Capture software
This is the part that's gotten unexpectedly easier in recent years, because the DV-over-FireWire protocol is so simple that lots of software can speak it. Your options:
- macOS: OBS Studio (free) is the most reliable in 2026. Older versions of iMovie (≤ iMovie 6) had a beautiful built-in DV capture mode but they don't run on modern macOS. Final Cut Pro X can still capture DV but is overkill if you don't already own it.
- Windows: OBS Studio works. WinDV (free, ancient, rock-solid) is still the gold standard if you can find it — it's a tiny utility that captures DV-over-FireWire to .DV or .AVI files with zero ceremony.
- Linux:
dvgrabdoes the job in a single command line.
For all of these, the output is a .dv or .avi file — uncompressed DV data, big (around 13 GB per hour), but with quality identical to the tape.
The capture session
Once everything is hooked up:
- Connect the camcorder to the computer with FireWire. Power on the camcorder. Set it to Play / VCR mode, not Camera mode. Most camcorders only output captured video over FireWire when in Play mode.
- Open your capture software and find the camcorder as an input device. OBS shows it as a "DV" or "FireWire" source. WinDV picks it up automatically.
- Cue the tape to the start. If you skip the leader (the dark/colored stripe at the very beginning), you'll get a cleaner start.
- Hit Play on the camcorder, then Record/Capture in software. Watch the time counter. The capture has to happen in real time — an hour-long tape takes an hour to capture.
- Stop when the tape ends or there's nothing but blue screen. Most software won't auto-stop; you need to watch.
- Save / verify the file. Open the resulting
.dvor.aviin VLC. If it plays, you're good. If audio drifts or there are dropped frames, the FireWire connection is flaky — try a different cable or port.
A typical session is one tape per hour of capture time, plus 5–10 minutes of overhead. If you have 30 tapes, plan two full days of capture work.
After you've captured
Now you have a folder of huge .dv or .avi files. They play in VLC but pretty much nothing else handles them gracefully — they're an archival format, not a sharing format.
That's where CamcorderRescue comes in. Upload the captured file, convert to MP4 (H.264), download. The MP4:
- Plays on phones, tablets, smart TVs, modern browsers.
- Is roughly 10× smaller than the raw
.dv(an hour goes from ~13 GB to ~1.3 GB at default settings). - Imports cleanly into modern editors if you want to cut highlights.
For long captures: split them into chapters before converting if the resulting .dv is over 5 GB (CamcorderRescue's per-file limit). Most capture software can split on stop/start, or you can use a tool like LosslessCut (free, GUI) to chop without re-encoding.
What to do with the originals
After conversion, you have three things:
- The original tape. Keep it, in a dry, room-temperature place. Tape lasts decades if stored well.
- The captured
.dv/.avi. This is your archival digital copy. Keep it on a backup drive — it's the source you'd return to if anything goes wrong with the MP4 or if a future format makes a better re-encode possible. - The MP4. Your day-to-day playable copy. Cloud-back this up; share with family.
If this all sounds like a lot
It is. Mini-DV capture is genuinely the most labor-intensive format we deal with — capturing 30 hours of tape takes 30 hours of real time, plus setup and verification. There's no shortcut.
If you have a small number of tapes and would rather pay someone, mail-in services like Legacybox handle Mini-DV well. Expect $20–$30 per tape and a 4–6 week turnaround. They'll send back digital files, which you can then run through the MP4 converter for the same final-format consistency you'd get DIY.
For a stack of tapes, DIY capture is worth it — the per-tape cost drops to almost nothing once you have the hardware. For two or three tapes, mail-in is fine.
Either way, the goal is the same: get the data off the tape now, while the equipment to read it still exists.